Refrigerant can recharging set
| Brand: | Aircon Tools |
| Product Code: | ac-recharge-diy-kit |
-
£79.99
Available Options
Did you noticed that when your air conditioner doesn't blow cold air? You properly did if you ended up on our page. This professional AC recharge kit has all essentials that you need to maintain or top up your AC system. We show below a step by step tutorial how you need to use our kit to fill your air conditioner weather your are a trained HVAC engineer or just a DIY user. In the ac recharge how to video the HVAC engineer uses a double gauge manifold but actually he uses only the low side of it. If you want to do a one off DIY AC charging then a single gauge manifold will do the same. In this listing we sell the kit with single manifold.
The tools you need and which the presentation video show you are electronic scale , R22 or R410a, R404a refrigerant (these are not included the DIY kit), refill gauges. 3 way air con gauges can be purchased separately in our online store which has all refrigerant gas markings you need to follow the procedure.
You may also need a AC temp sensor to detect the temp change whilst charging. In the how-to video a properly trained HVAC technician explains the steps.
1. First thing you need to do is to remove the end cap from the low side port. When you removed the Schrader valve cap you can gently press the valve core which removes the dust and dirt from the access valve.
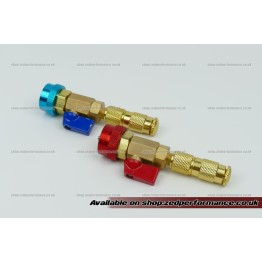
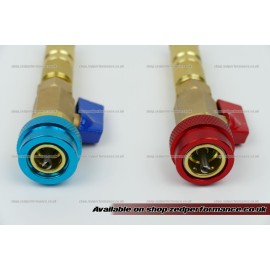
2. Make sure that your AC pressure gauge is closed. If you want to connect to a home / office / domestic air conditioner then you may need to connect first the R410a fitting to the end of the blue (low side) hose. R410a systems are usually have an 5/16" low side port. We will provide you with this R410a adapter in our AC refill kit.
3. Close the high side valve on the AC gauge tool and slowly open the cold side valve on the gauge manifold. You will immediately see the pressure inside the AC system. If it is low you need to recharge your air conditioning system. Check the air filter on the AC unit.
4. Place the refrigerant gas on the refrigerant scale if you have one.
5. Connect the yellow line to the refrigerant bottle and reset the read or the scale.
6. Open the main valve of the refrigerant bottle and loose the charging hose's nut to bleed the system from air. This is applicable when you either have the single gauge recharge kit or if your double gauge manifold doesn't have Schreder valve. (If you have the AC double gauge manifold then will most likely have Scrader valve on it. Press the middle of the Schrader valve on the AC gauge manifold. By this you are going to purge the air which stuck in the yellow charging hose line between the refrigerant bottle and the gauge manifold.)
7. Slowly open the low/ blue side valve on the AC manifold and let the refrigerant gas to fill your air conditioner.
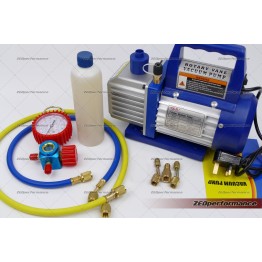
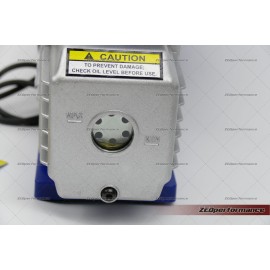
Please note that although this tutorial video below shows the basic steps using an AC scale but it doesn't show how to pull the air out of the air con system. This is why the air con vacuum pump for. At all times when a refrigerator or an air conditioning system gets recharged the oxygen and air must be pulled out of the hose lines. Vacuum pumps are also available in our store.
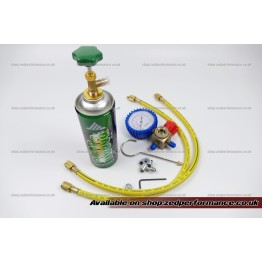
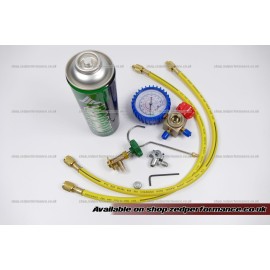
Listing Includes:
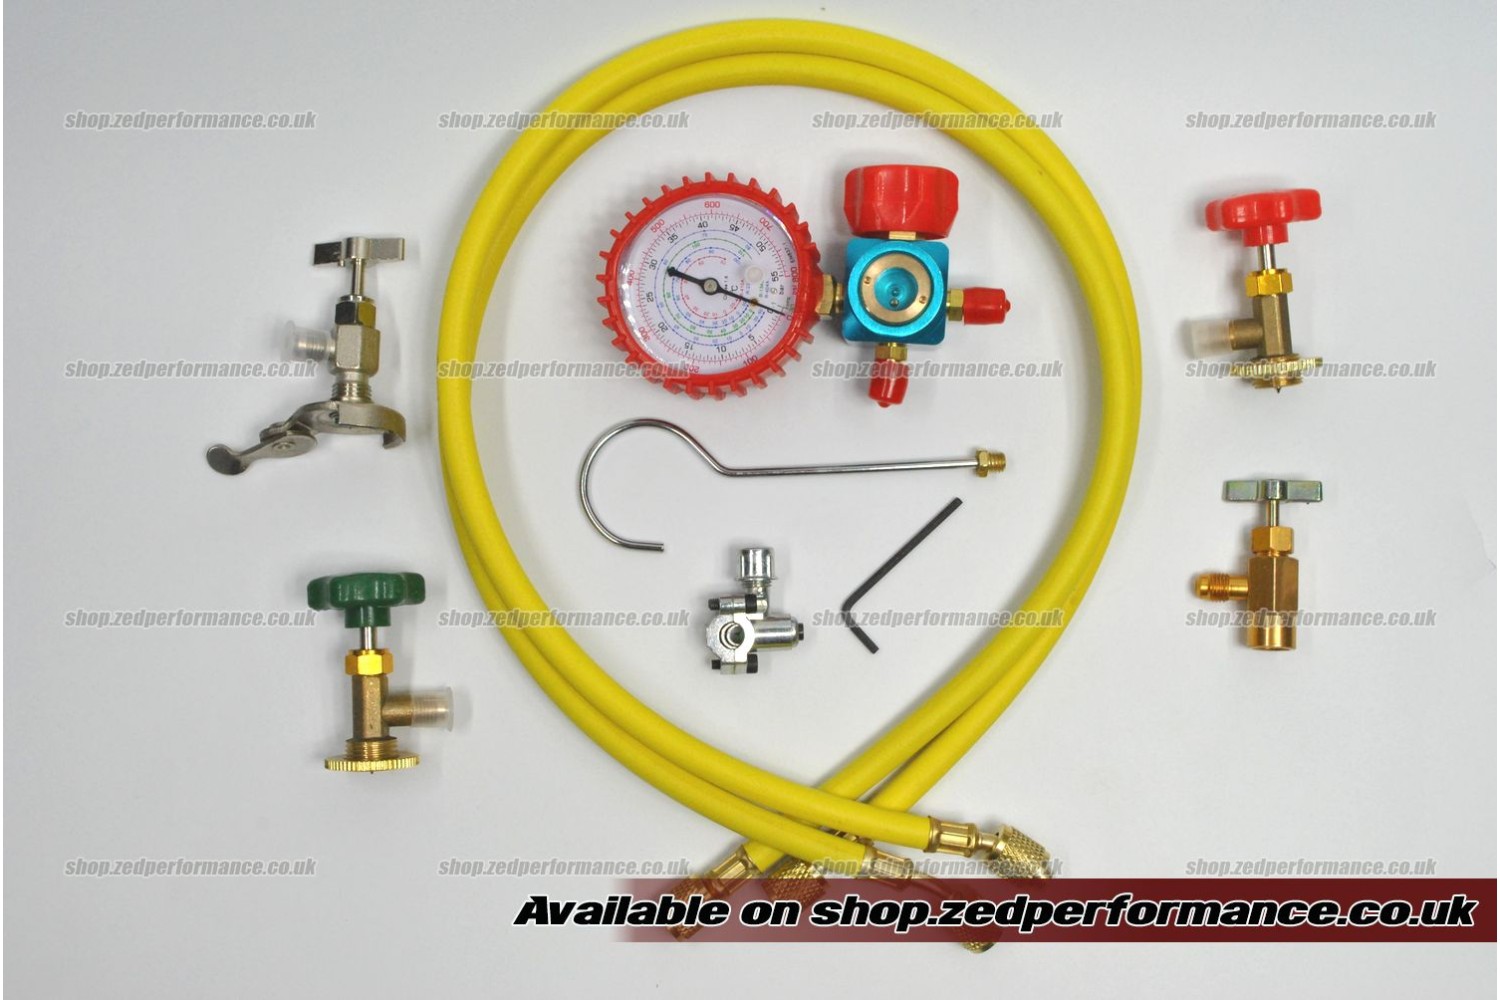
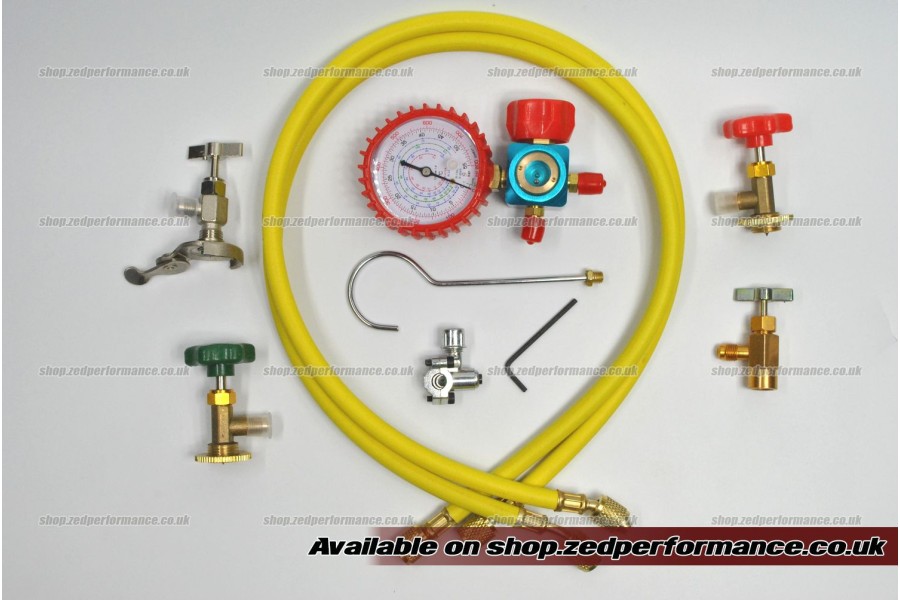
*Refrigeration single gauge
*2pcs of 35 inch long hose set
*Bullet piercing valve (Solderless technique. For gas tubing from 1/4 to 3/8 (6.5-9.5mm)provides non-leak, permanent valve.)
*1pc of M14 to 1/4" flare can tap valve (green color)
*1pc of 1/2" to 1/4" flare can tap valve (gold color)
*1pc of 7/16" to 1/4" flare can tap valve (red color)
*1pc of canister tap valve. It fits almost all gas canisters. (silver color)
The tap valves do not fit the EZ-chill and STP recharge canisters!
In the tutorial video when the HVAC technician added the refrigerant checked the AC lines for leaks with his electronic leak detector. He found a leak at the compression fitting of the evaporator and tightened down the fitting to eliminate the leak. The evaporator was in a crawl space so it could not be taped. He did do a Super-heat reading on the unit since it was a fixed orifice and and had a 17 degree super-heat reading. This process is easy and DIY users can also follow the how-to tutorial. We offer various kits for your needs. Please check out our other AC kits and tools.

