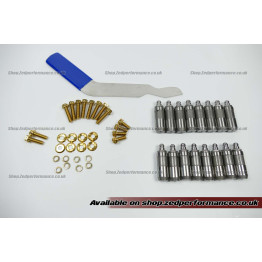
Mitsubishi EVO GTO Valve Lifter Removal Tool
| Brand: | ZEDPERFORMANCE® |
| Product Code: | mitsubishi-lifter-tool |
-
£26.99 VAT incl.
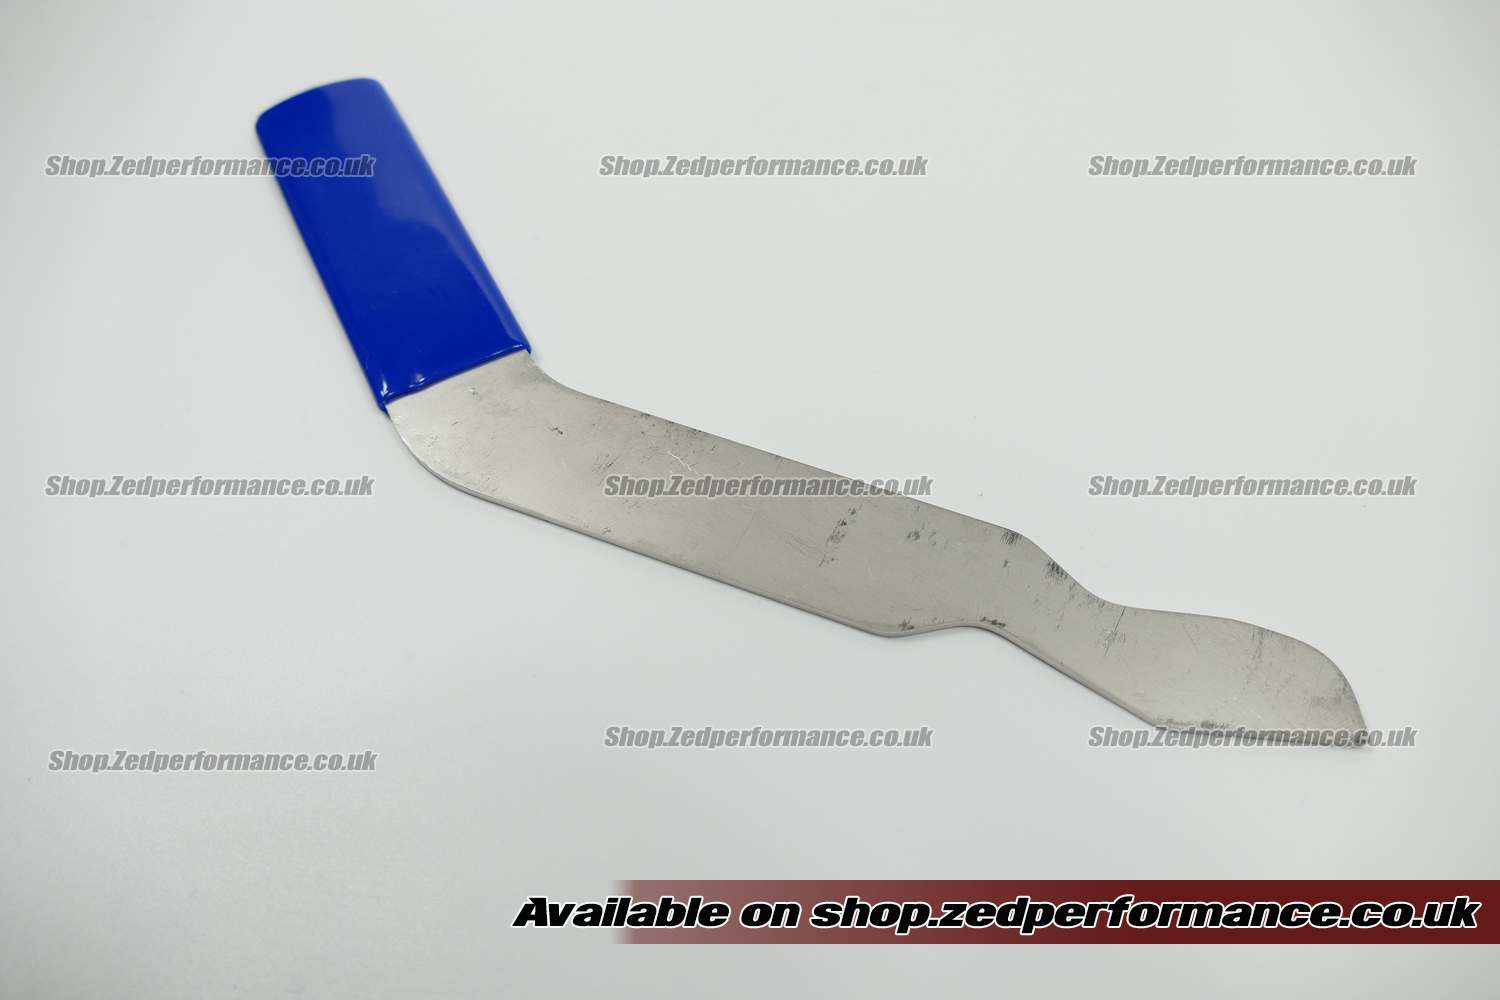
Mitsubishi Valve Lifter Removal Tool – EVO, GTO and 3000GT
This Mitsubishi valve lifter removal tool helps you remove and refit hydraulic lifters on compatible Mitsubishi engines. It depresses the valve spring so the rocker arm can be removed, giving access to the hydraulic lash adjuster beneath it.
On suitable engines this allows hydraulic lifter replacement with the camshafts still in place. It is useful when replacing worn lifters or removing them for inspection and cleaning while investigating a persistent ticking noise.
Final Improved 3mm Thick Design
This is our final improved design with a 3mm thick tool body, replacing the earlier 1.6mm version.
The tool slides between the cam tower and cam lobe to reach the valve spring retainer. Lifting the handle depresses the spring so the rocker arm can be released. The tool is also used when refitting the rocker after the lifter has been installed.
- 3mm thick design.
- For removal and installation of hydraulic valve lifters on compatible cylinder heads.
- Provides access to the lifter by allowing the rocker arm to be removed.
- Can avoid removing the camshafts and disturbing the timing belt solely for lifter replacement.
- Suitable for compatible turbo and naturally aspirated applications.
Mitsubishi Engine Applications
The engine codes covered by our application list are:
- 4G63 – including the turbo engine commonly referred to as 4G63T.
- 4G64 – applicable DOHC cylinder-head configurations.
- 6G72 3.0 DOHC 24V NA or Twin Turbo
- 6G73
- 6G74
- 6A10
- 6A12
- 6A13
- 6A13TT
Applications include suitable versions of the Mitsubishi Lancer Evolution, GTO, 3000GT, Galant and Legnum VR-4, Eclipse plus the Dodge Stealth. The tool is also relevant to compatible 4G63-powered Mitsubishi Eclipse models.
Check the cylinder-head layout as well as the engine code. Some engine families have different SOHC, DOHC, GDI or MIVEC versions. The engine code alone does not confirm that every version has the same rocker arrangement or enough clearance for this tool. On modified engines, including 4G64 conversions, check the cylinder head actually fitted.
Additional Potential Applications
The following engines may also suit this style of lifter removal tool:
- 4G61 DOHC 1.6 – versions with hydraulic lash adjusters and a compatible rocker arrangement.
- 4G93 DOHC 1.8 – versions with hydraulic lash adjusters and a compatible rocker arrangement.
These additional applications require a fitment check before ordering. Reports of the same removal method being used do not confirm clearance for this particular 3mm thick tool. Check access around the camshaft and valve spring retainer. Do not assume that SOHC, GDI or MIVEC versions are covered.
Replacing Lifters Without Removing the Camshafts
A noisy hydraulic lifter does not always mean the camshafts need to come out. On compatible Mitsubishi cylinder heads, removing the rocker arm gives access to the lifter while the camshaft stays fitted. This can save dismantling work when the lifters are the only parts being serviced.
The rocker cover and any components blocking access still need to be removed. Follow the workshop procedure for your particular engine.
Useful Tips Before Starting
- Cam position matters. The cam lobe must not be pressing the rocker down when you attempt to remove it.
- Allow clearance above the piston. Depressing the valve opens it further. Follow the workshop procedure to position the piston clear of the valve before applying pressure.
- Do not force a rocker that will not release. Recheck the cam position, piston position and tool seating first.
- Prepare replacement lifters correctly. Follow the lifter supplier's instructions and the engine workshop procedure for bleeding and installation.
- Check the oil before blaming every tick on worn lifters. Incorrect oil level and air in the hydraulic adjusters can also cause noise.
If you are unsure about fitment, contact us with your engine code and a clear photograph of the rocker and camshaft layout before ordering.
How to Use the Mitsubishi Valve Lifter Removal Tool
This guide explains how the tool releases the rocker arm so you can remove or replace a hydraulic lash adjuster with the camshafts still fitted. It follows the Mitsubishi 4G63 rocker arrangement. For other compatible engines, follow the relevant workshop procedure for access and engine positioning.
Before You Start
- Work with the engine switched off and cool. Disconnect the battery negative terminal to prevent accidental starting.
- Remove the rocker cover and any parts blocking access.
- Protect exposed oil return holes with clean lint-free cloths so small parts cannot fall into the engine. Keep track of every cloth used.
- Keep removed rockers and any lifters being reused labelled by their original position.
1. Position the Camshaft and Piston
Turn the engine by hand using the crankshaft in the direction specified by the workshop manual. Position the cam so its lobe is not pressing down on the rocker you are removing.
The piston must also be low enough to allow the valve to move down without touching it. A cam lobe pointing away from the rocker does not by itself confirm piston clearance. Follow the engine-specific positioning procedure.
2. Seat the Tool
Slide the shaped end between the cam tower and cam lobe so it engages the valve spring retainer. Check that the tool sits securely before applying pressure.
Our tool has a 3mm thick body. Check that it enters the working gap freely. Do not hammer or force it into position.
3. Release the Rocker Arm
Lift the handle smoothly to depress the valve spring. Use only enough movement to release the rocker. Hold the rocker under control and ease it clear of the valve stem and lifter.
Lower the handle slowly to release the spring pressure before removing the tool. Leave the valve spring, retainer and collets assembled.
4. Remove and Prepare the Lifter
Lift the hydraulic lash adjuster out of its bore. If the cam lobe obstructs removal, return the adjuster fully into its bore before repositioning the engine. Never turn the engine with an adjuster left partly raised.
Prepare the replacement or cleaned lifter according to its supplier's instructions and the workshop manual. Apply the specified lubrication before installation.
5. Refit the Rocker Arm
A useful technique is to locate the rocker's lifter-side pocket on top of the lash adjuster first. Keep the roller aligned beneath the cam.
Use the tool to depress the valve spring slightly. At the same time, gently press the rocker down and guide its opposite end towards the valve stem until it seats correctly. Do not force it if the lifter will not compress or the rocker will not align.
Release the tool slowly. Check that the rocker sits correctly on both the lifter and valve stem and that its roller is aligned with the cam.
6. Check Before Starting
Remove all tools and protective cloths. Once the components are correctly installed, turn the engine slowly by hand through the workshop-specified check. Stop if it meets unexpected resistance.
Refit the rocker cover and other removed parts using the correct torque settings. Follow the specified lubrication and start-up procedure.
Why Will the Rocker Not Go Back In?
Check the cam position and lifter preparation before applying more force. A hydraulic adjuster that remains extended can make refitting difficult and may hold the valve open. The answer is to correct the cause, not to push harder on the tool.