DIY R134a car air con refill kit
| Brand: | Aircon Tools |
| Product Code: | diy-ac-how-to |
| Availability: | Out Of Stock |
-
£249.99
Available Options
With this you can properly DIY recharge your car air con system. Many people are afraid to do work on their AC system but this how-to video tutorial below will take this fear away. We will show you how easy is to recharge the air conditioning system. The hardest part of the AC work is having the correct tools but all tools are included within this kit you are visiting.
Tools needed to properly recharge your car's AC system:
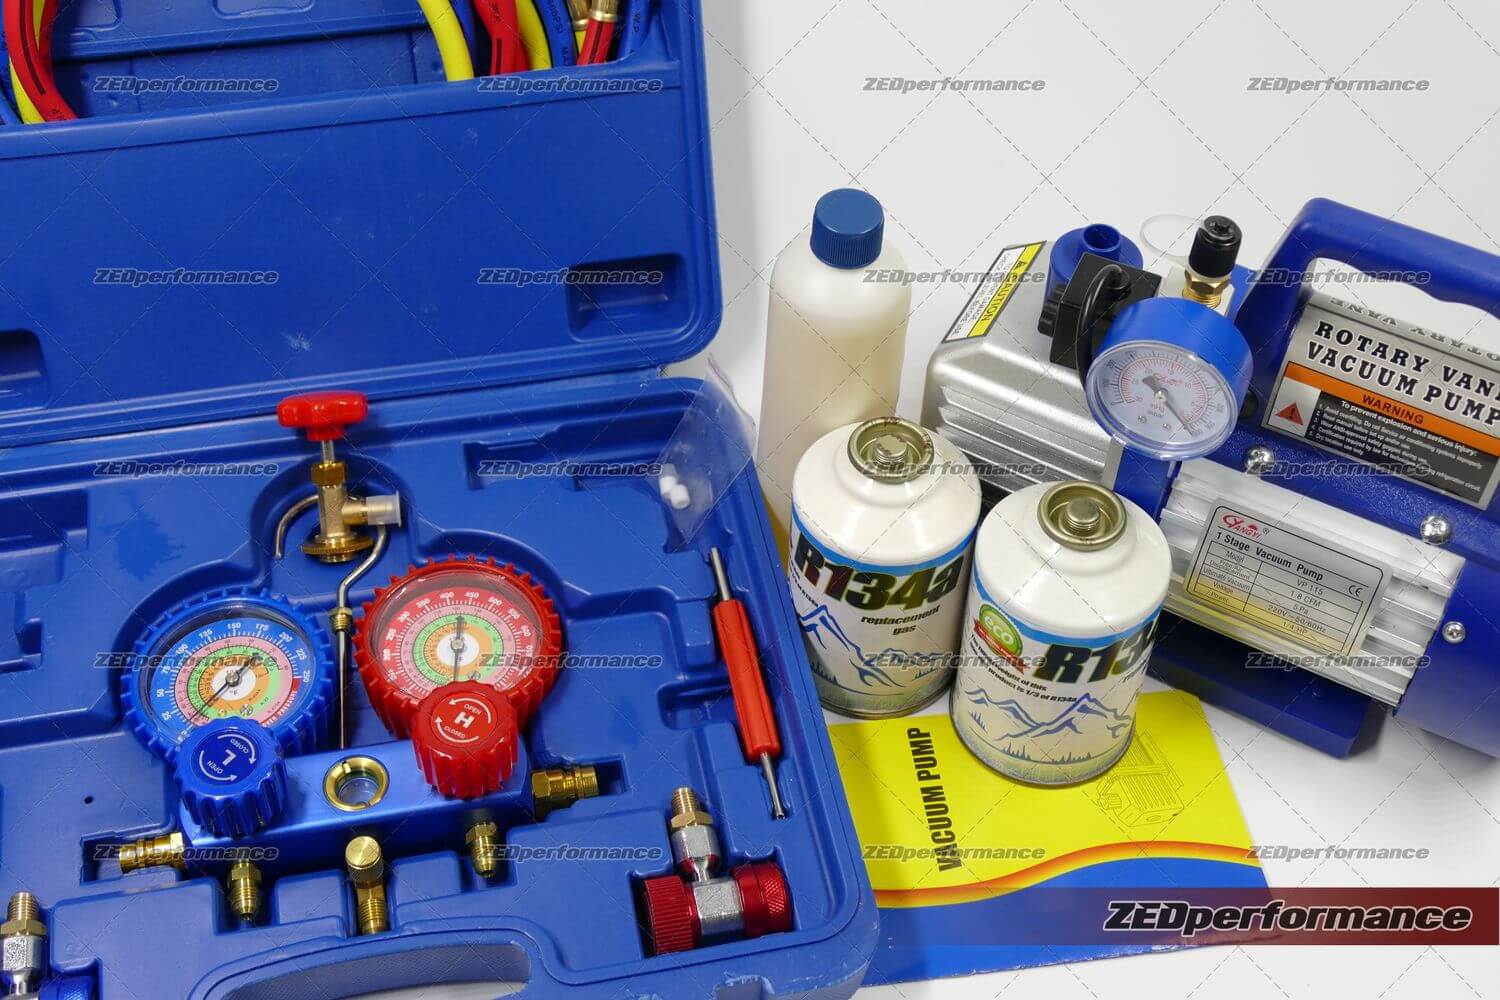
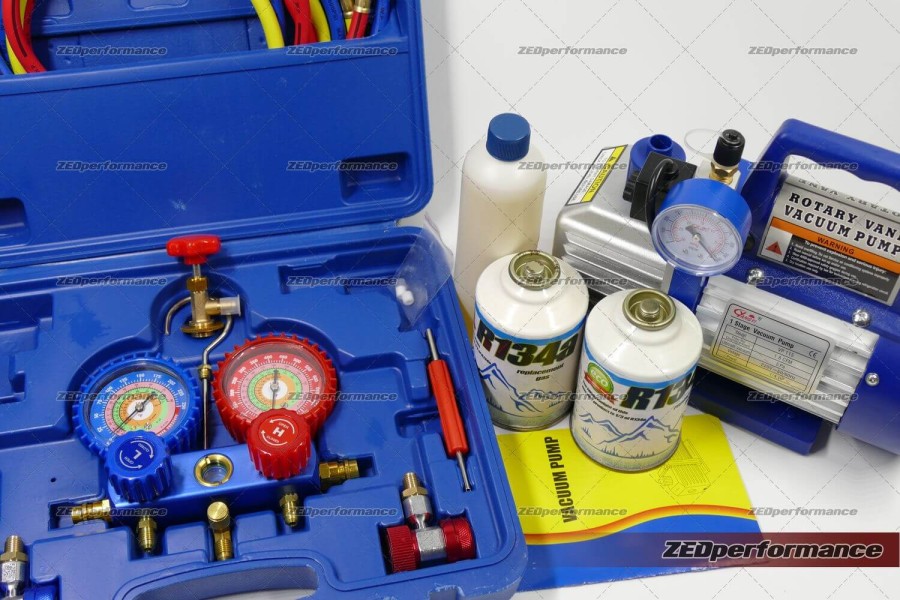
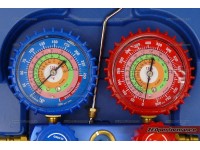
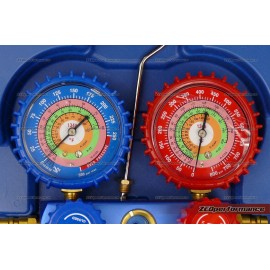
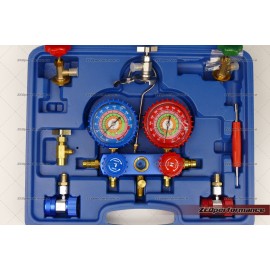
*1 set of manifold gauges with hot and cold side couplers which tell you the correct pressure of the car's AC. The AC gauge kit also has the color coded hose set to fill your air conditioning system.
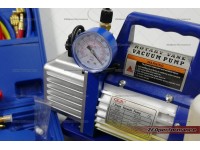
*1pc of vacuum pump because you will have to pull the vacuum on the air con system. Our vacuum pump in the tool kit is fitted with vacuum gauge and electronic solenoid valve. After vacuuming the solenoid shuts off and you will see the vacuum drop if your AC hose line leaks somewhere.
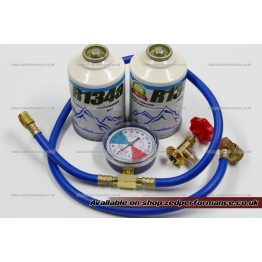
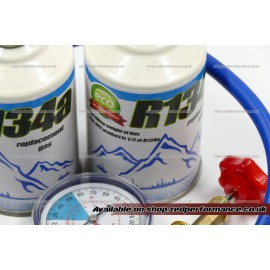
*2pc of R134a refrigerant replacement gas. This is drop-in non-HFC replacement has.
*1pc of refrigerant can nozzle to pierce the cans.
Make sure you use gloves and glasses during the recharge process. Please note that the non-HFC R134a replacement gas is a flammable gas.
Make sure your fittings tight and you don't expose the cans to heat, sparks or flame. Keep the cans away from heat at all times!
Make sure that your vehicle's AC system uses the correct R134a refrigerant.
You will most likely find a sticker on the front cross bar in your engine bay.
This how-to shows you that you need to do two main things:
1st. Pull the vacuum out of your whole system. This will draw out any air and moisture that are in the AC line, in the evaporator, in the condenser and in the AC compressor. Moisture destroy AC system so this is a very important step. To skip this step you will waste your time because the moisture will cause a leak in the future.
2nd step is to recharge the system with refrigerant.
First you need to connect your double AC manifold gauge to the AC system. Make sure both low and high side valves are closed on the AC manifold.
Low and High pressure connectors are not the same. You can't mistakenly swap them over. The low side connector fits only the low side valve and the high side connector fits only the high side valve on tha car's AC connectors. You will need to locate the low and high pressure sides on your vehicle. We can;t help you with this as each car make has different locations.
Please check it in your owners manual. High (red) connector's cap usually marked with a "H". Make sure the twist valve on the high and low side couplers are in closed position before you connect them to your AC line. After connecting them you can open them (turning them CCW direction) and read your AC system pressure on the AC gauges.
The last thing to connect is the yellow hose to the vacuum pump.
Please note that this DIY AC recharge kit and the tools are to recharge an empty air conditioning system. This how-to tutorial video also explains to refill a completely empty system. Please don't let the HFC gas in the air. Although this AC tool kit is suitable to top-up your air conditioning system you should use this kit if your system is completely empty. HFC gas cause global warming so don't let the R134a refrigerant out.
Fill the vacuum pump first with vacuum pump oil and turn it on. Now the vacuum pump pull the vacuum out of the yellow hose line. You can now open both low and high valves on the gauge manifold. Let the pump run for few minutes and turn off the vacuum pump. Turning off the vacuum pump will also close the electronic solenoid in it so your line will be closed.
Check the read on the vacuum pump's vacuum gauge and wait for about 30 mins - 1 hour. If your system leaks you should see that the vacuum has dropped on the vacuum pump's gauge. You can also close the manifold's valves and wait to see if the vacuum stays at 30 inHG.
Now turn the vacuum pump back on and pull the vacuum for another 45 mins. Also open the low and high valves on the AC gauge manifold.
After 45 mins close the valves on the manifold and shut off the pump.
Now you wold need to add lubricating oil to the AC system however this lubricating oil has already been added to the replacement refrigerant gas so you don't need to add more. The oil lubricates the whole AC system and the compressor.
Next step is to connect the valve adaptor to the canister. Make sure that the piercing needle is UP before you screw the adaptor onto it.
Remove the yellow hose from the vacuum pump and connect it to the canister's piercing valve.
Screw down the can adaptor and pierce the can.
Once the can is pierced you can open the tap again and purge the yellow hose with refrigerant from the canister.
Now you will need to purge the air stuck in the yellow hose by pressing the purging tip (Schrader valve) on the AC gauge manifold. Let the R134a replacement gas out through the purging valve for few 1-2 sec.
Now you can start your engine and turn on the air conditioning in the car. Turn the fans up and set the coolest position whether you have manual or digital AC in the car.
Open the low side valve on the AC gauge manifold. You can also see the refrigerant flowing through the sight glass on the gauges manifold. Sometimes you will need to shake the R134a canister.
If you need more refrigerant for your AC you will need to close the valves on the manifold and reconnect a new canister.
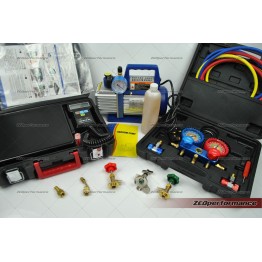
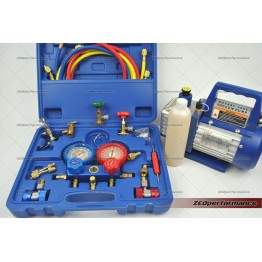
This DIY AC recharge kit includes the following:
*1pc HVAC vacuum pump with vacuum gauge and solenoid fitted.
*2pcs of R134a non-HFC replacement gas canisters. (Should be enough to refill an empty AC system)
*1pc of canister nozzle (can tap valve)
*1set of R134a recharging manifold gauge set.
Check this AC recharge how-to video below to use our kit:

