BMW S55 N55 Crankshaft Oil Seal Remover & Installer Tool Kit
| Brand: | Aftermarket |
| Product Code: | s55-n55-crankshaft-seal-remover |
-
£129.99 VAT incl.
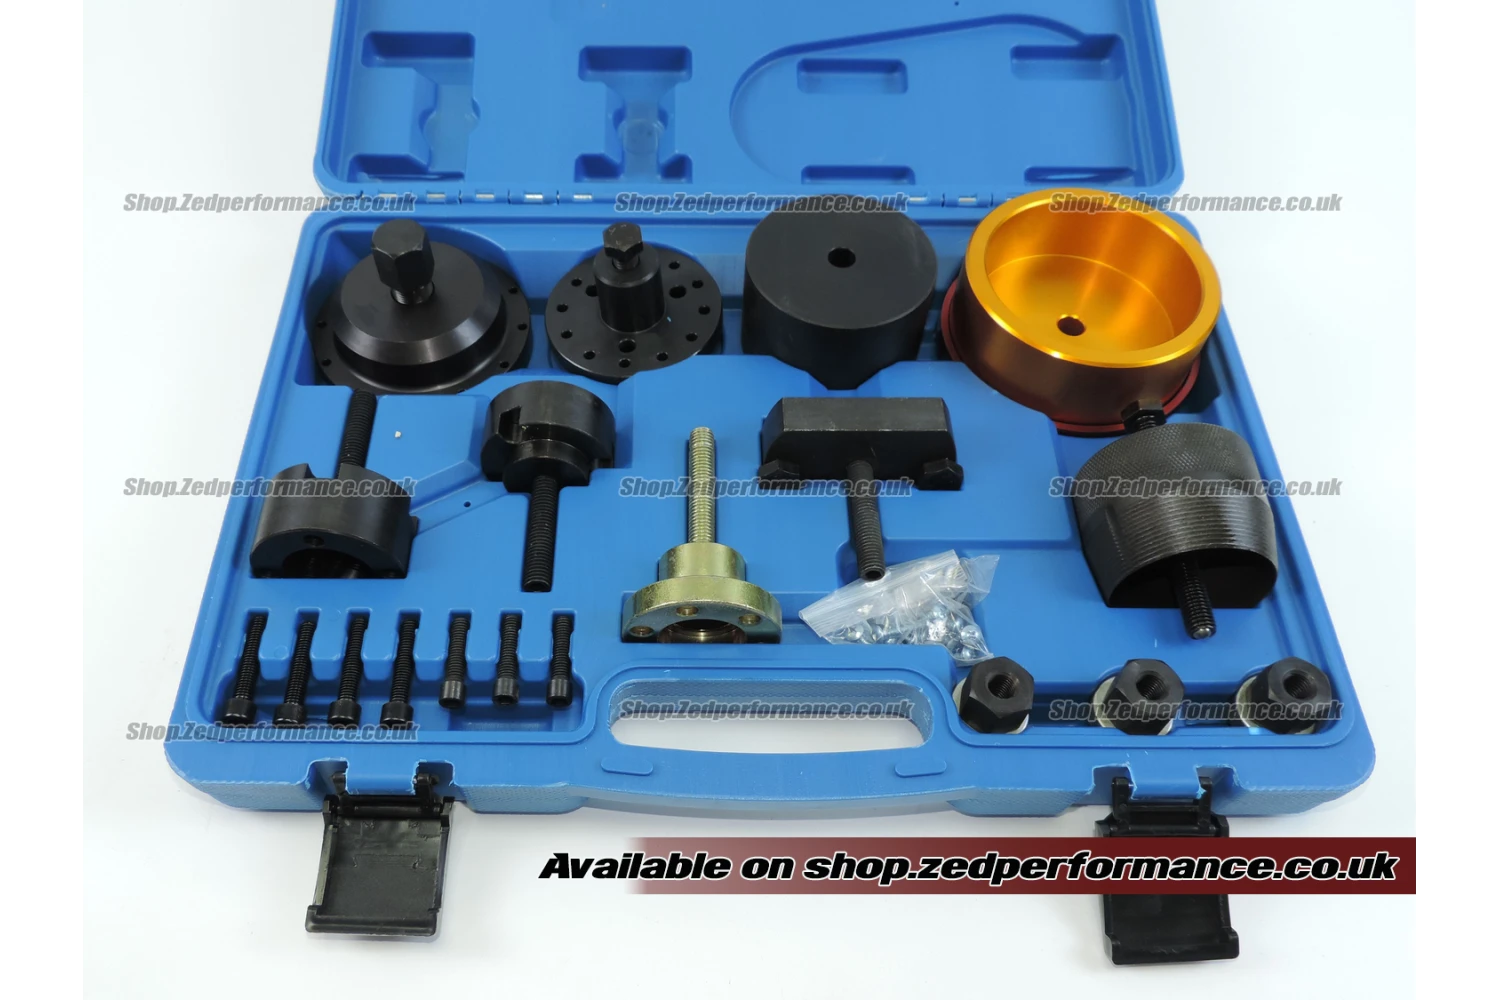
BMW Crankshaft Oil Seal Removal and Installation Tool Kit
We supply this BMW crankshaft oil seal tool kit for front and rear seal work on compatible petrol engines including N20, N52, N54, N55 and S55. You recieve removal and fitting tools with the associated screws, spindles, sleeves and pressing pieces.
The puller removes the old seal. The fitting tools guide the replacement onto the crankshaft and press it squarely into position. Use the correct combination for the engine and seal design.
Jobs covered
- Replacing a leaking or damaged front crankshaft seal behind the pulley.
- Replacing a rear main seal after removing the gearbox and flywheel or flexplate.
- Front seal inspection and replacement following an auxiliary belt failure.
- Seal replacement during engine rebuilding or timing cover repairs.
- Replacing a confirmed leaking rear seal while the transmission is already removed.
Crank hub or pulley work can also provide access for front seal inspection. Replace the seal if its condition requires it rather than assuming every pulley job needs a new seal.
Engine applications
Listed applications include N20, N40, N42, N45, N45T, N46, N46T, N52, N53, N54, N55 and S55 petrol engines when used with the appropriate tool pieces. These egnines appear in selected BMW 1, 2, 3, 4 and 5 Series cars plus X and Z models.
Check the engine code and the specific front or rear seal procedure before ordering. A model badge alone does not identify which adapters are required. Not every piece in the case is used on every engine.
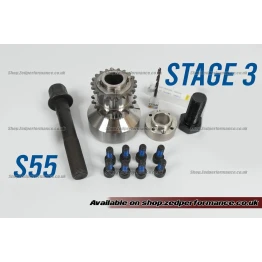
S55 front seal adapter
The S55 is fitted to the F80 M3, F82/F83 M4 and F87 M2 Competition and M2 CS. Its front seal procedure requires the appropriate fitting adapter. BMW reference 2 303 795 identifies the S55 front adapter rather than an oil seal.
Confirm that the required S55 adapter is present in the selected kit configuration before ordering for this job. The general puller and pressing tools alone do not establish that every required adapter is included.
BMW special tool comparison references
These numbers identify BMW workshop tools rather than replacement seals. Some references describe complete tool assemblies made up of several piece. They should not be treated as a count of separate tools in the case.
| BMW tool reference | Function |
|---|---|
| 11 9 181 | Rear seal pressing bush |
| 11 9 182 | Rear seal crankshaft mounting / alignment piece |
| 11 9 183 | Rear seal draw nut |
| 11 9 184 | Fixing screws for the rear mounting piece |
| 11 9 185 | Ring used with the rear pressing bush on applicable seal versions |
| 11 9 220 | Front seal puller assembly |
| 11 9 230 | Front seal installer assembly |
| 11 0 370 | Front seal extraction assembly |
This is an aftermarket kit. BMW references are provided for comparison with the workshop procedure. No genuine BMW tools or replacement oil seals are included. Order the correct seals seperately.
Trace the leak before replacing the seal
Oil around the crank pulley does not always originate at the front crankshaft seal. A leaking oil filter housing or another gasket higher on the engine can allow oil to run down into the same area.
Oil at the engine and gearbox joint can also come from the sump or a leak above the bellhousing. Clean and trace the source before committing to gearbox removal for a rear main seal replacement.
Inspect after an auxiliary belt failure
On affected N52 and N54 engines oil leaking onto the auxiliary belt can contribute to belt deterioration. A displaced belt can wrap around the crank pulley and fragments may pass through the front crankshaft seal.
Gates' BMW accessory belt technical bulletin explains this failure route. If belt material has entered the egnine then replacing the seal alone does not remove the debris. Inspect the belt drive and affected engine components before returning the car to service.
Fitting the replacement seal
Follow the instructions for the actual seal being installed. Some designs require a dry sealing lip and a protective fitting sleeve. Do not apply oil or grease automatically.
Use the specified adapter and installation depth. Check the crankshaft sealing surface and follow any sealant or settling-time requirements in the repair procedure. If a replacement seal leak again also investigate crankcase ventilation and pressure.
This kit supplies seal removal and installation tools. Crankshaft holding tools, timing tools and gearbox removal equipment are required separately where the repair calls for them.