Eccentric Flaring Tool Kit for HVAC jobs
| Brand: | Aircon Tools |
| Product Code: | eccentric-flaring-tool |
| Reward Points: | 800 |
-
£69.99 VAT incl.
45° Eccentric Flaring Tool Kit for AC and Refrigeration Pipe
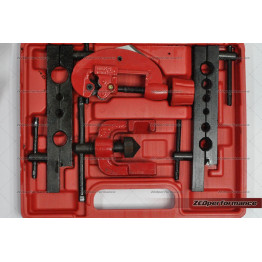
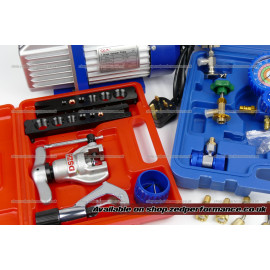
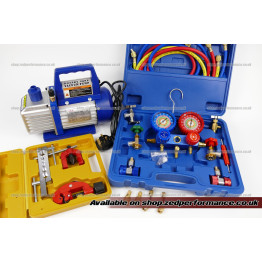
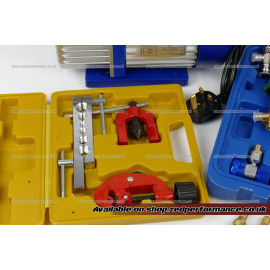
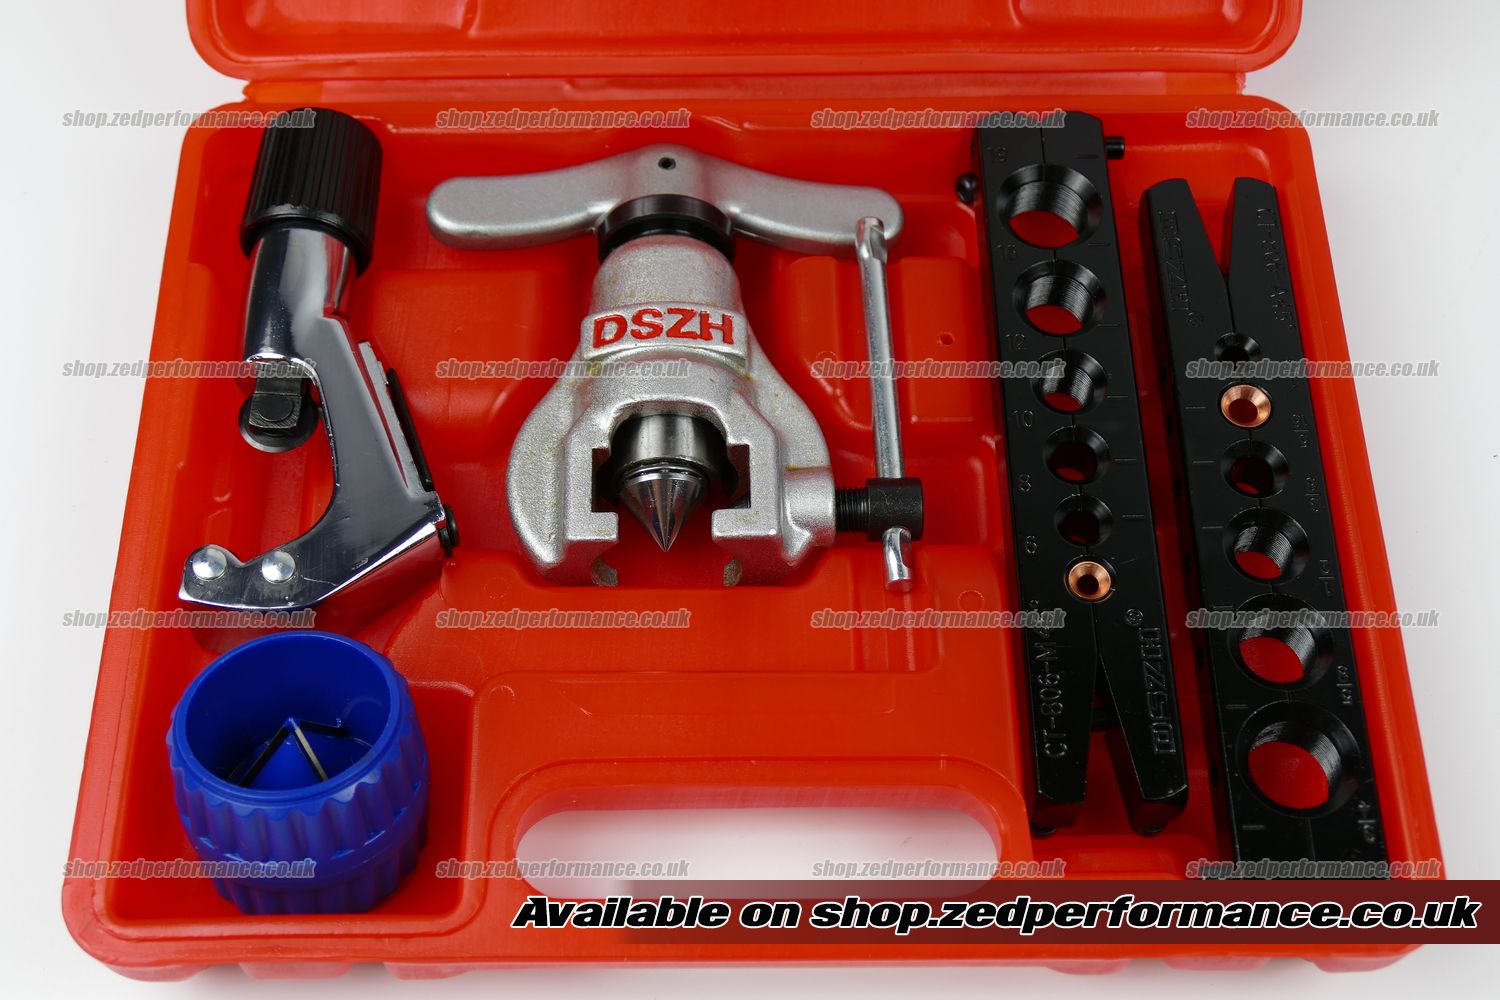
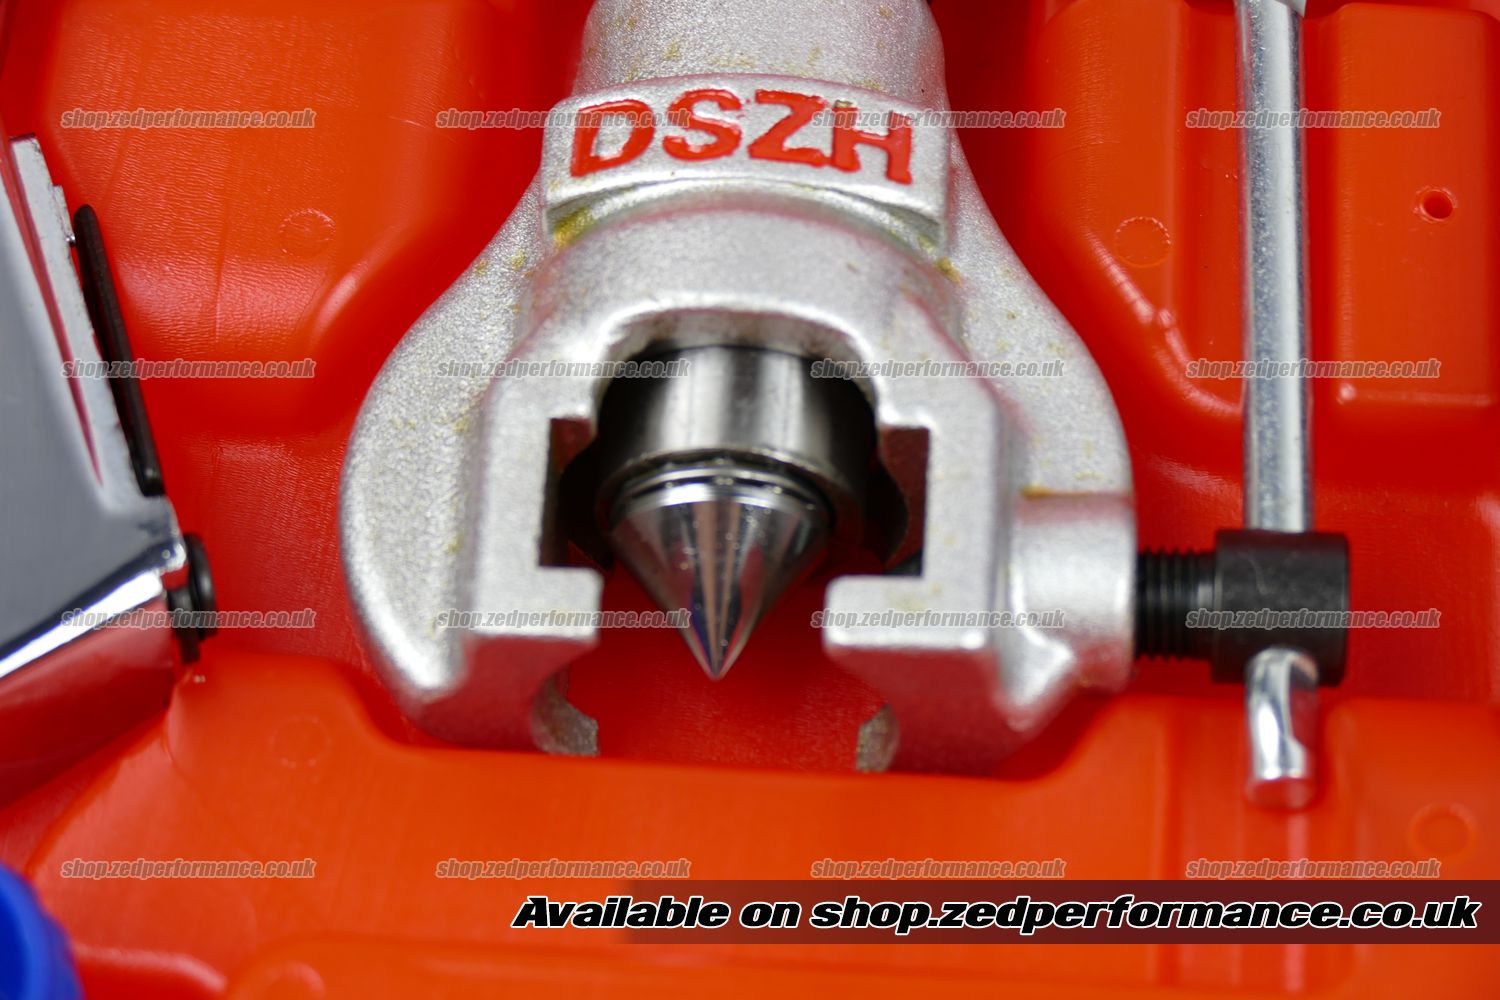
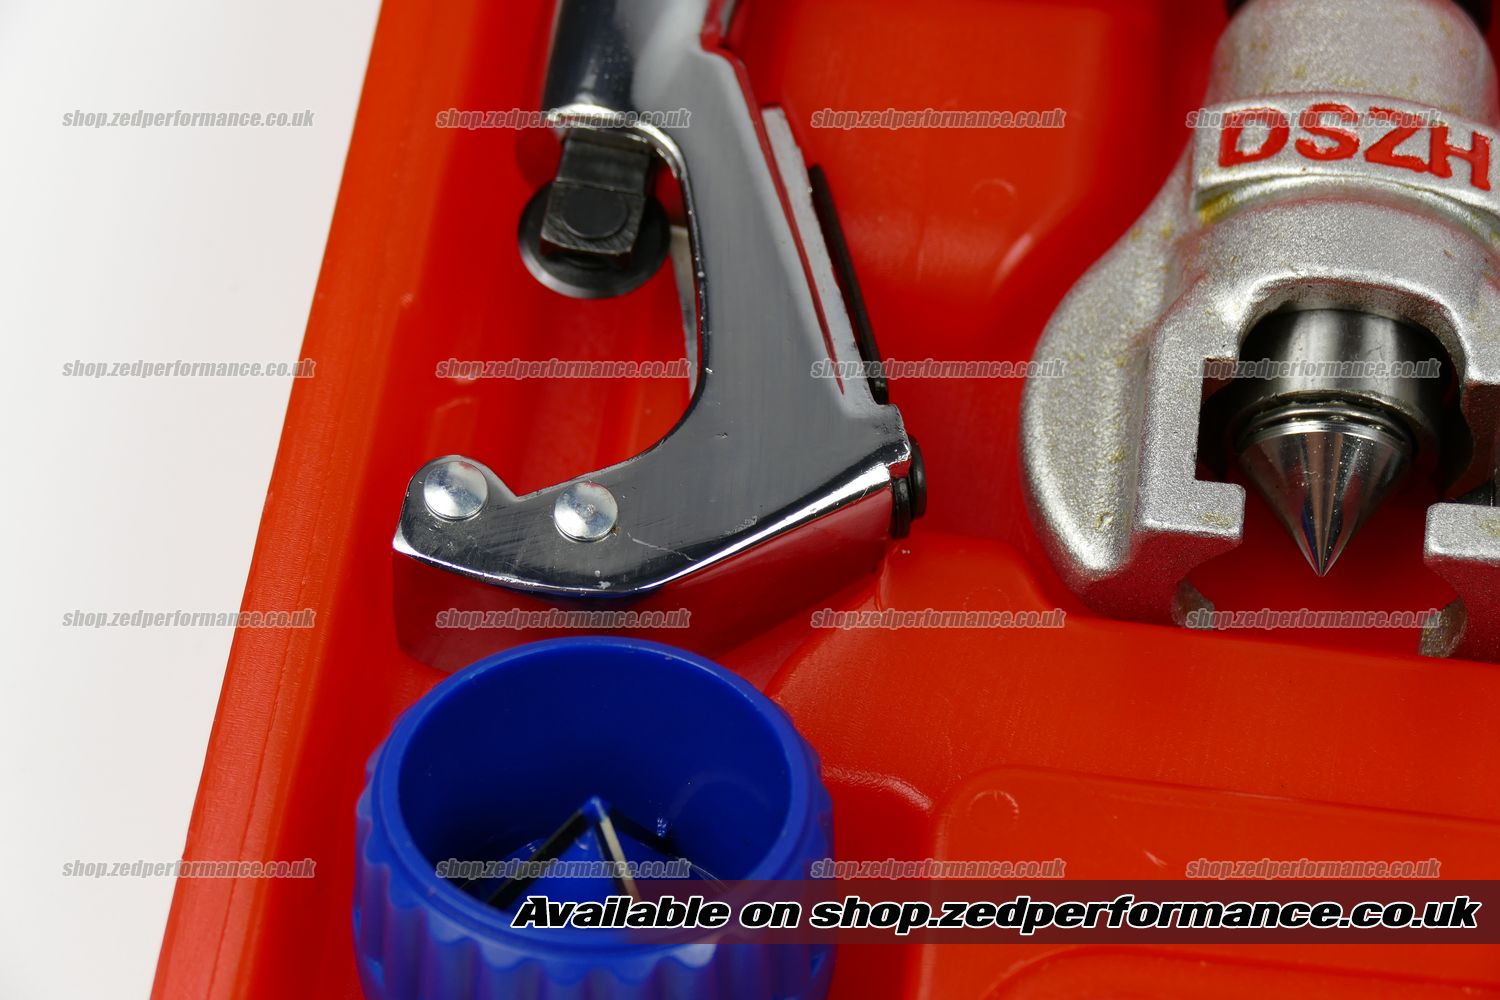
We supply this eccentric flaring tool kit for preparing copper tube and forming 45° single flares on compatible air conditioning and refrigeration conections. You recieve the flaring tool, tube cutter, reamer and additional deburring tool in a plastic storage case.
Kit contents
- AB800: 45° eccentric cone flaring tool.
- CT274: tube cutter with a stated capacity of 1/8" to 1-1/8" / 4–28 mm.
- BT208: inner and outer tube reamer with a stated capacity of 3/16" to 1-1/2".
- Additional deburring tool.
- Plastic storage case.
Supported tube sizes
| Size system | Tube outside diameters |
|---|---|
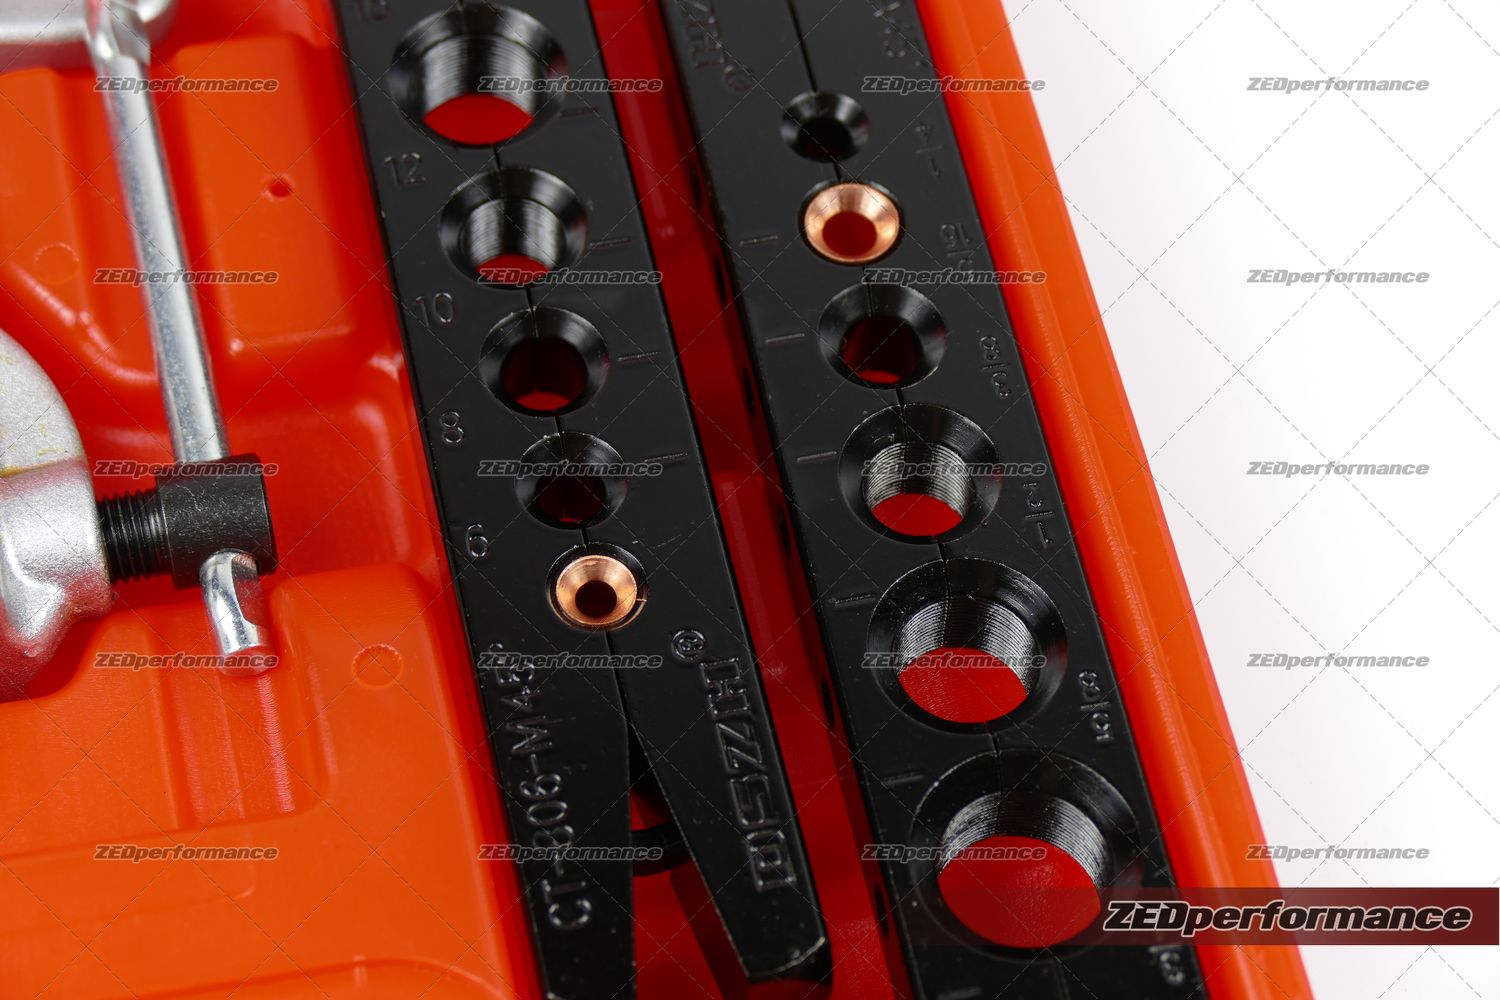
| Imperial | 1/4" / 5/16" / 3/8" / 1/2" / 5/8" / 3/4" |
| Metric | 6 / 8 / 10 / 12 / 16 / 19 mm |
Choose the clamp hole for the actual tube outside diameter. Close metric and imperial sizes are not interchangeable. For example a 1/4" tube measures 6.35 mm rather than 6 mm.
How the eccentric cone works
The flaring cone is mounted off-centre. As the handle turns the cone progressively rolls around the tube opening and forms the sealing face. This helps produce a smooth 45° flare without pressing the whole face into shape at once.
The finished flare should still be round and centred on the tube. “Eccentric” describe the cone's movement rather than an off-centre finished connection.
Typical jobs
- Forming copper pipe connections for a split AC installation.
- Preparing replacement refrigerant pipe cut to length.
- Remaking a damaged flare after cutting back to sound tube.
- Making compatible copper tube connections during refrigeration repairs.
- Other tube work requiring the supported sizes and a 45° single flare.
This kit forms single flares. A job requiring a double flare, bubble flare or different flare angle needs the appropriate tooling. Check the fitting specification before starting.
Preparing and forming the flare
- Cut the tube squarely with the tube cutter.
- Remove the inner and outer burrs without damaging the tube wall. Keep filings out of the pipe.
- Slide the correct flare nut onto the tube before forming the end.
- Select the matching clamp hole and set the tube projection according to the AB800 instructions.
- Position the cone assembly over the tube using the alignment mark and secure the tool.
- Turn the handle to form the flare following the tool's operating instructions. Retract the cone before releasing the tube.
- Inspect the flare for an even shape and a smooth sealing face without cracks or deep tool marks.
Check the tube position before forming the flare. Too much or too little projection can produce the wrong flare size. Use the setting specified for this tool and verify the finnished dimensions against the equipment instructions.
If the flare nut was left off then the formed end normally needs to be cut away before starting again. Fit the nut first rather than preparing it seperately after flaring.
Making the connection
Use the correct flare nut and follow the equipment manufacturer's preparation and tightening requirements. A smooth-looking flare still needs the correct dimensions and assembly torque. Complete the specified leak test before putting the system into service.